Serverless Architecture for Backend

What are Backend Server?
As a developer, you probably build the frontend app or web app using basic Technology like HTML, CSS, Javascript, and React (Javascript library) you can easily deploy them using famous platforms like Vercel, Netlify, and many more. but in the case of deploying the backend server is like a snowball's chance in Hell.
If you know some Backend then you might use express to create the Backend server and run it usually node index.js which starts a process on a certain port whatever you defined.
If you want to deploy it on the internet, there are a few ways-
i. AWS ii. GCP [Google Cloud Platform Services] iii.Azure iv. Cloudflare
HOW?
Rent a VM (Virtual Machine) and deploy your app.
Put it in an Auto-scaling group
Deploy it in a Kubernetes cluster
Don't worry if don't get any idea about these we will discuss everything further.
Everything and Everyone has pros and cons similar to the downside of this is-
Taking Care of how/when to scale.
You have to pay the base cost even if no one is visiting your website
Monitoring various servers to make sure no server is down
What if, you could just write the code and someone else could take care of all of these problems?
What areserverless Backends

Definition:
What if you could just write your express routes and run a command. The app would automatically
Deploy
Autoscale
Charge you on a
per requestbasis (rather than you paying for VMs)
As I told you everything in this world has pros and cons so this also has some cons but these cons or problems are very important to know.
More Expensive at scale: -
As the backend system grows bigger, it costs more money to manage and maintain it properly.
Cold start problem: -
"Delayed response when serverless function or microservice is inactive or newly initialized."
There are many famous backend serverless providers -
AWS Lambda
Google Cloud Functions
https://firebase.google.com/docs/functions
Cloudflare Workers
https://workers.cloudflare.com/
But we will use Cloud-flare for this :
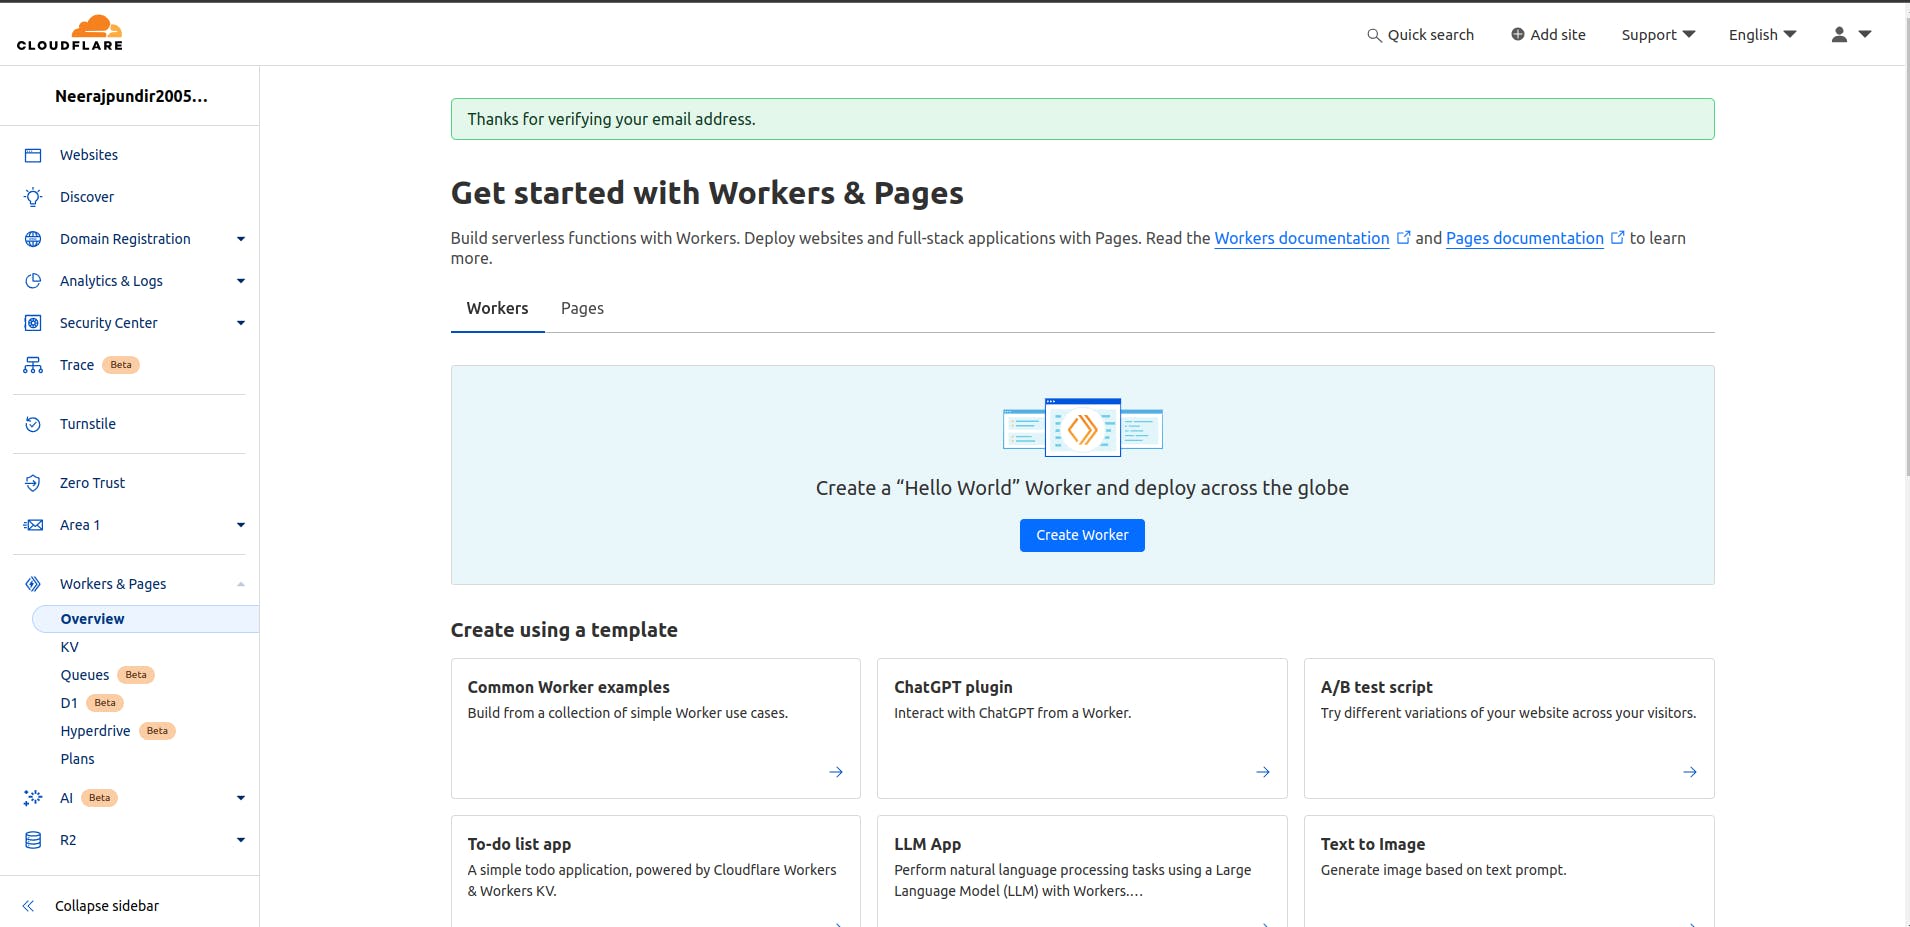
Just go on the Cloudflare website and sign up if you are new you will get to see something like this. before we proceed there is a big question that arises which is:-
When should you use a serverless architecture?
When you want Quick Launch:
- Serverless lets you start your app fast without server setup worries. It's like moving into a ready-to-use office.
When you want Automatic Scaling:
- It adjusts to traffic changes automatically. Think of it as a store that expands or shrinks based on customers, saving costs.
When you want Cost Optimization:
- You pay only when your code runs, making it cost-effective for low-traffic apps. It's like paying for electricity only when you use it, keeping bills low.
Few senior developers want to know how Cloudflare workers work.
For detailed blog post click here:- Blog on Workers
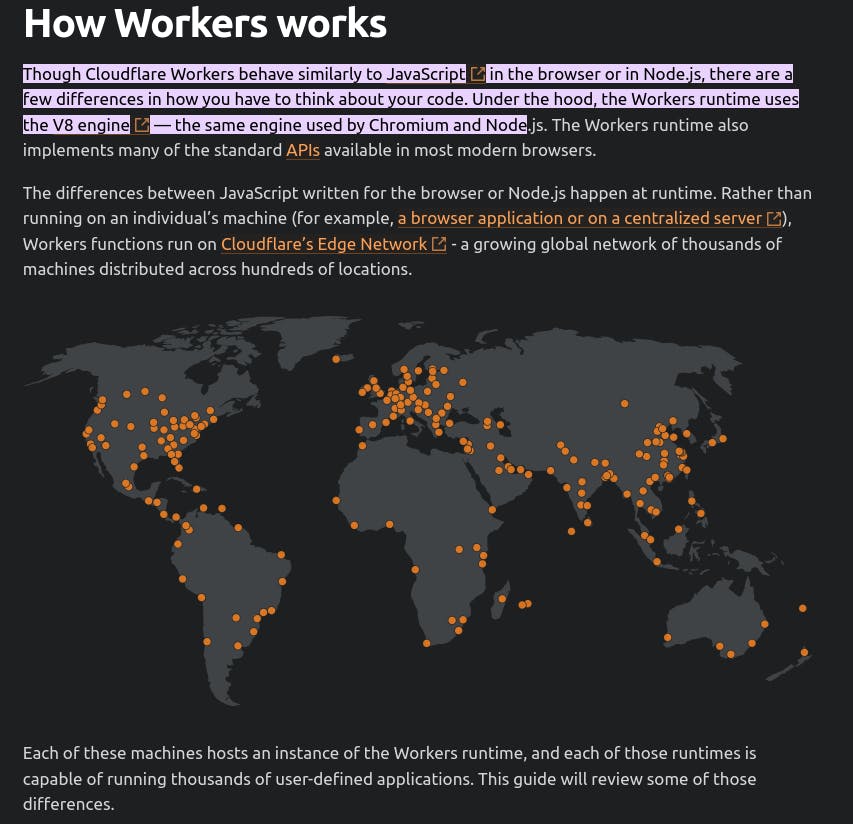
they can read this blog for more detail i also mentioned some important glimpses from the blog:
I think You know enough to start using Cloudflare. Don't worry, just follow my steps carefully, and you'll learn how to set up the backend without any problems.
Create a directory with a name whatever you want suppose we created a directory with name practice.
Open this directory in the code Editor whatever you use
Open the terminal in the code editor and write this command for initializing the Cloudflare init the command is:-
COPY
COPY
npm create cloudflare
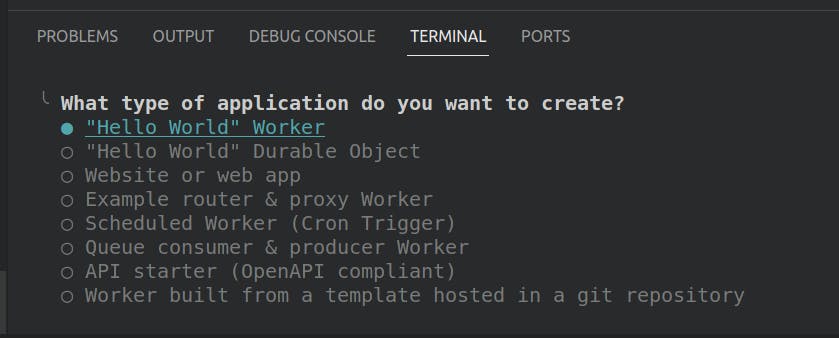
now select the "Hello World" workers as we just Learning.
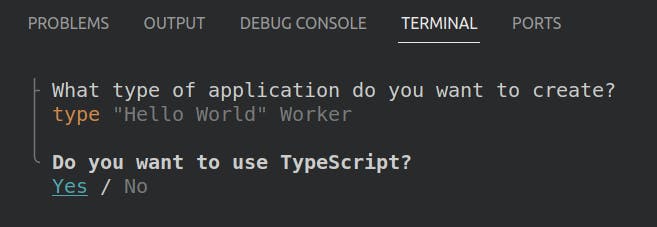
As I know the typescript I preferred to use typescript. if you don't then relax there is not to worry
After that, they ask you:
Do you want to deploy your application? Select the NO because we will deploy the backend using
npm run deployExplore package.json dependencies
COPY
COPY
"wrangler": "^3.0.0"Notice
expressthere is no dependency on thereStart the worker locally and write this in the directory where package.json exists
COPY
COPY
npm run devAfter that, your terminal will look like this now just press ctrl and on the localhost:8787:-
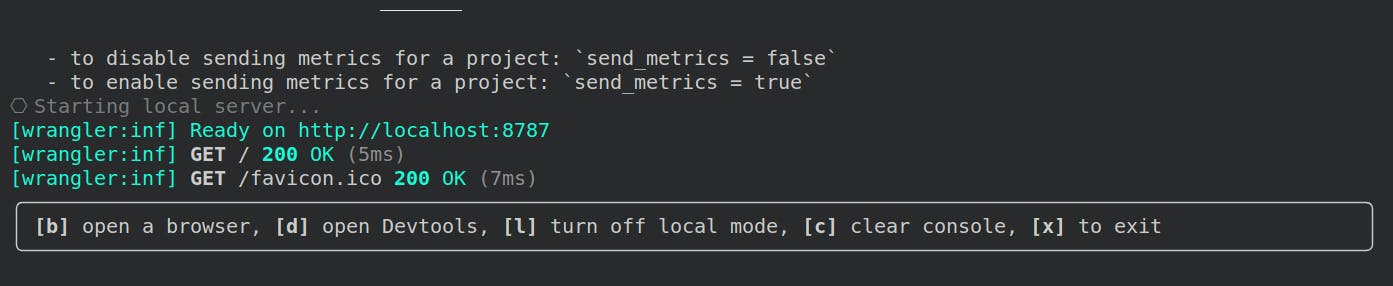
You can see you are directed to the browser where Hello World is written.
Open src file you'll see this:
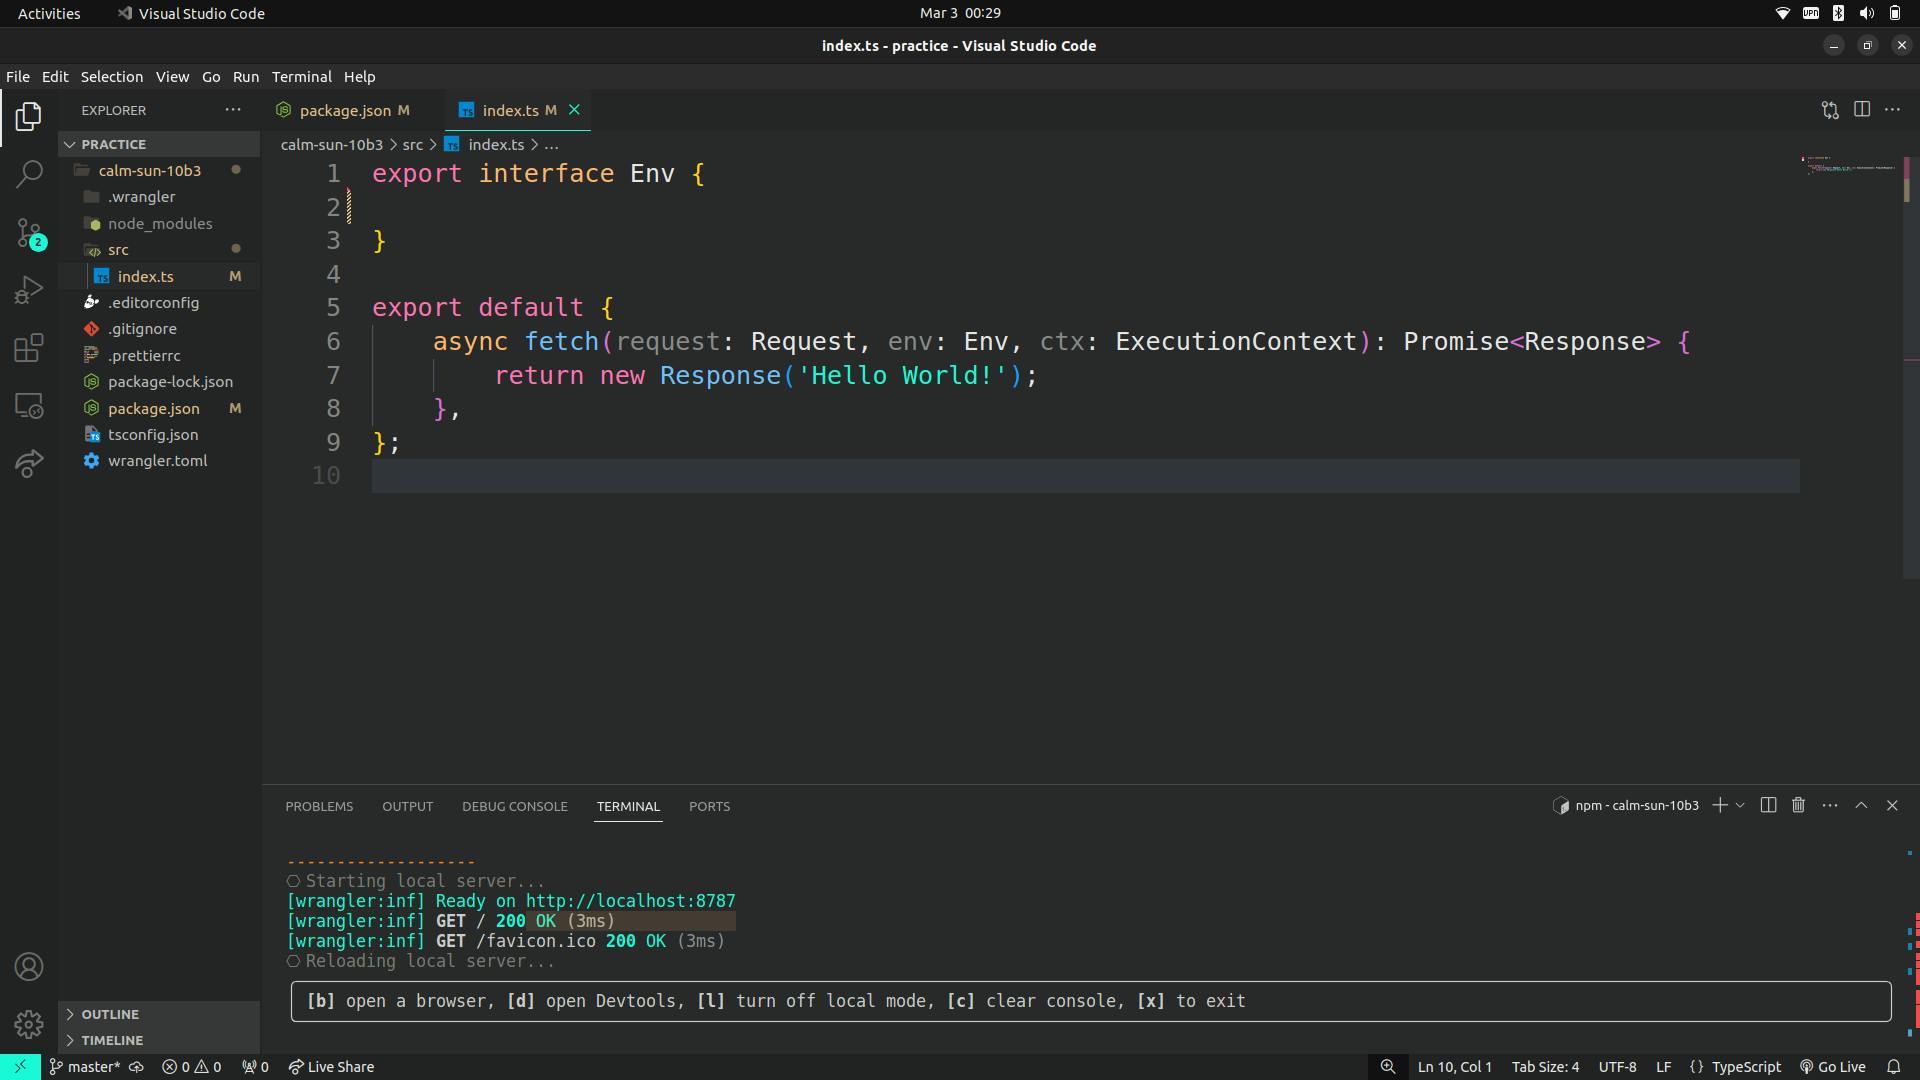
Question - Where is the express code? HTTP Server?
Cloudflare expects you to just write the logic to handle a request. Creating an HTTP server on top is handled by Cloudflare
Question - How can I do
routing?In express, routing is done as follows -
COPY
COPY
    import express from "express"
    const app = express();

    app.get("/route", (req, res) => {
        // handles a get request to /route
    });
This is how you can do the same in the Cloudflare environment.
COPY
COPY
    export default {
        async fetch(request: Request, env: Env, ctx: ExecutionContext): Promise<Response> {
            console.log(request.body);
            console.log(request.headers);

            if (request.method === "GET") {
                return Response.json({
                    message: "you sent a get request"
                });
            } else {
                return Response.json({
                    message: "you did not send a get request"
                });
            }
        },
    };
Don't worry if you see this code; it's just for reading purposes. We won't use it. This code shows how to create a GET request using Cloudflare Workers, but we won't use it because Cloudflare Workers use their library, not Node.js or any other common libraries. Writing code with this library can be challenging.
Lets Deploying a worker
Now that you have written a basic HTTP server, let’s get to the most interesting bit — Deploying it on the internet
We use Wrangler Dont worry I'll tell you
Step 1 Log in to Cloudflare via the Command Line Interface npx wrangler login Nothing just type this in the terminal of the code editor where the project is going on.

you'll see something like this.
Step 2 Deploy Your Worker:
COPY
COPY
npm run deploy
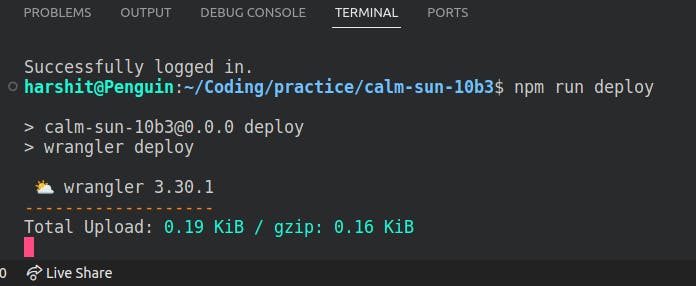
After this, you'll see something like this
This is optional and just to know:-
Assigning a custom domain
You have to buy a plan to be able to do this
You also need to buy the domain on Cloudflare/transfer the domain to Cloudflare
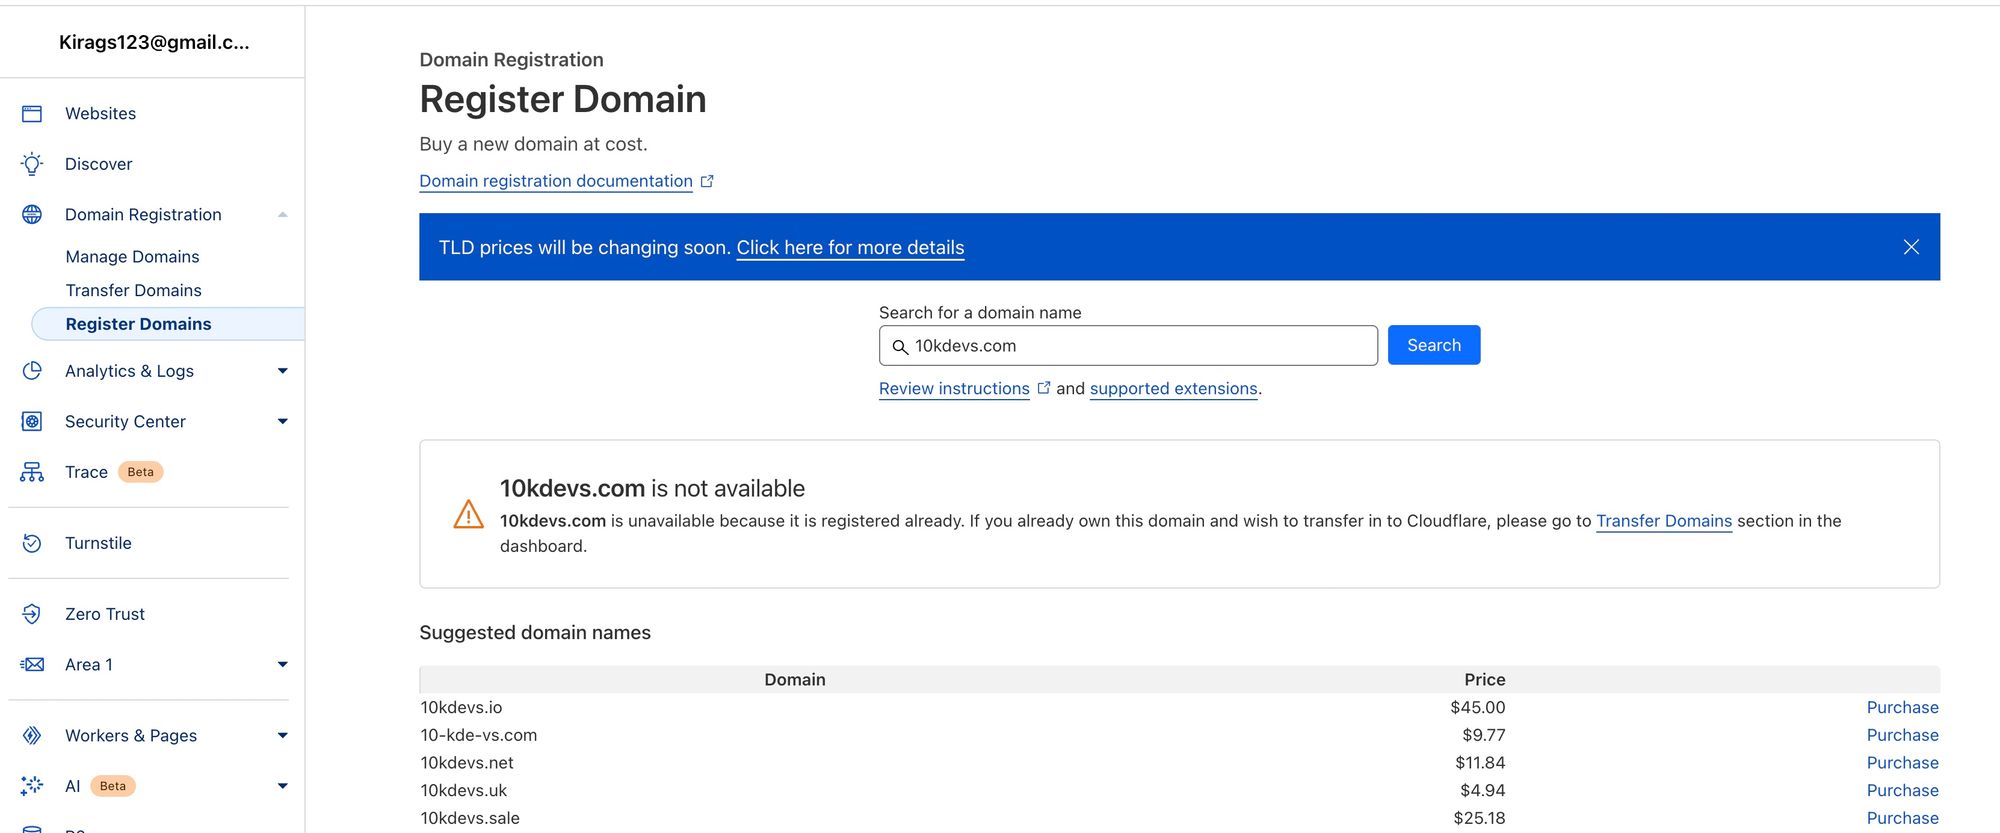
Come back to the topic If you now go back to the website it will show you this means that u deployed your application for now ignore my-app the app we deploy is calm-sun-10b3
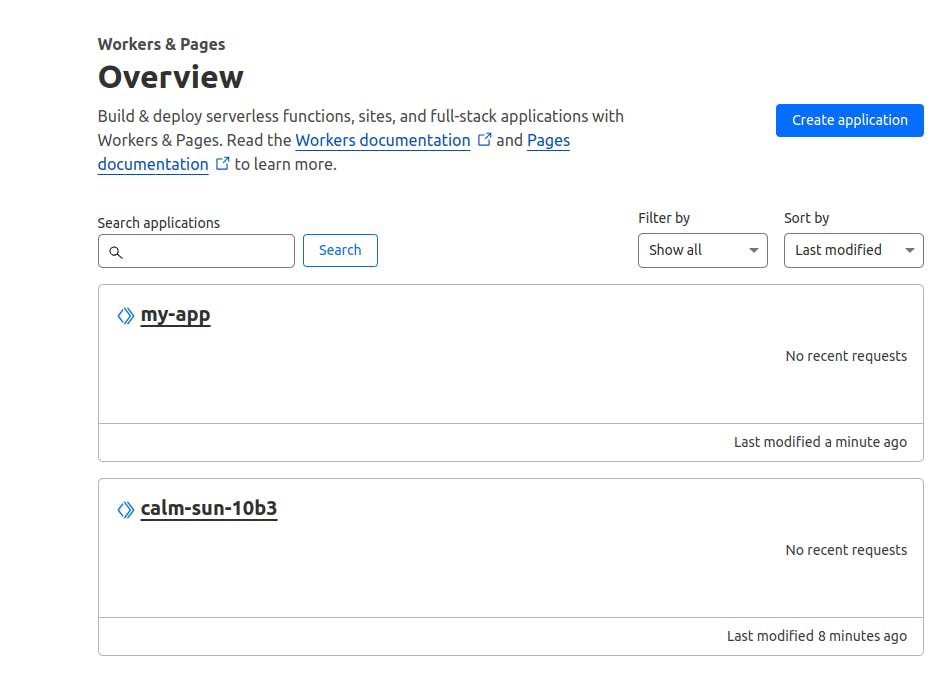
- Now come back to the very important question which is whether we always use this challenging worker syntax or we have something else to tackle this problem.
Why can’t we use express?
Now you might be thinking Why does Cloudflare doesn’t start with a simple express boilerplate? the answer to this Question is very simple:
- Express heavily relies on Node.js
The answer to this big question is:
Using Hono
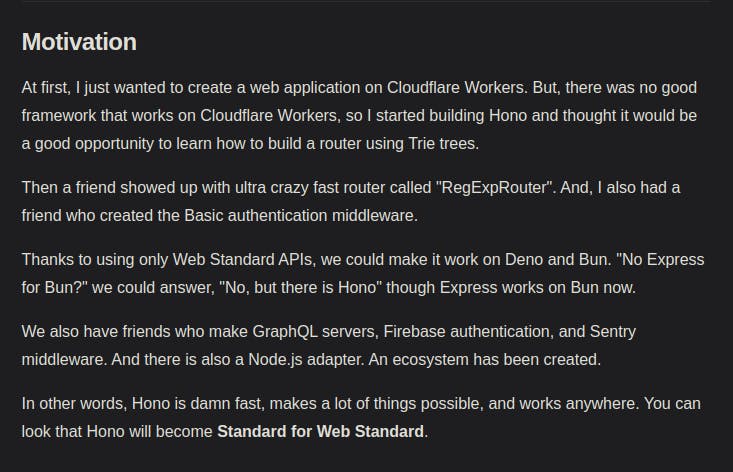
You must read this Because this will give you the answer to all the questions you have in your mind:-
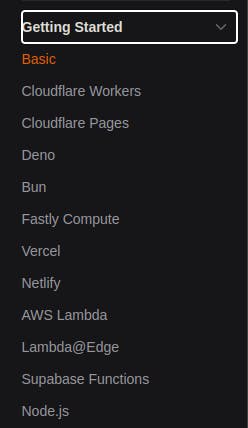
What runtime does it support:
Using Hono is easy:-
Initialize a new app
COPY
COPY
npm create hono@latest my-app
- Move to
my-appand install the dependencies.
COPY
COPY
cd my-app
npm i
- Hello World
COPY
COPY
import { Hono } from 'hono'
const app = new Hono()

app.get('/', (c) => c.text('Hello Cloudflare Workers!'))

export default app
Getting inputs from the user
COPY
COPY
import { Hono } from 'hono'

const app = new Hono()

app.post('/', async (c) => {
  const body = await c.req.json()
  console.log(body);
  console.log(c.req.header("Authorization"));
  console.log(c.req.query("param"));

  return c.text('Hello Hono!')
})

export default app
If you are here and learning the serverless Backend so you know what is Postman and how to use it now just do one thing.
Go on the Postman and write the localhost(URL) above
Select the POST from the options
Write any value in the headers with the key Authorization and query param.
Now click on the Send Button.
You can see the output in the console if there is an error try to fix it.
Deploying
Make sure you’re logged into Cloudflare (wrangler login)
COPY
COPY
npm run deploy
Middlewares
Creating a simple auth middleware
Middleware is very important in the backend this is how you define the middleware in the backend.
COPY
COPY
import { Hono, Next } from 'hono'
import { Context } from 'hono/jsx';

const app = new Hono()

app.use(async (c, next) => {
  if (c.req.header("Authorization")) {
    // Do validation
    await next()
  } else {
    return c.text("You dont have acces");
  }
})

app.get('/', async (c) => {
  const body = await c.req.parseBody()
  console.log(body);
  console.log(c.req.header("Authorization"));
  console.log(c.req.query("param"));

  return c.json({msg: "as"})
})

export default app
Notice you have to return the c.text value.

